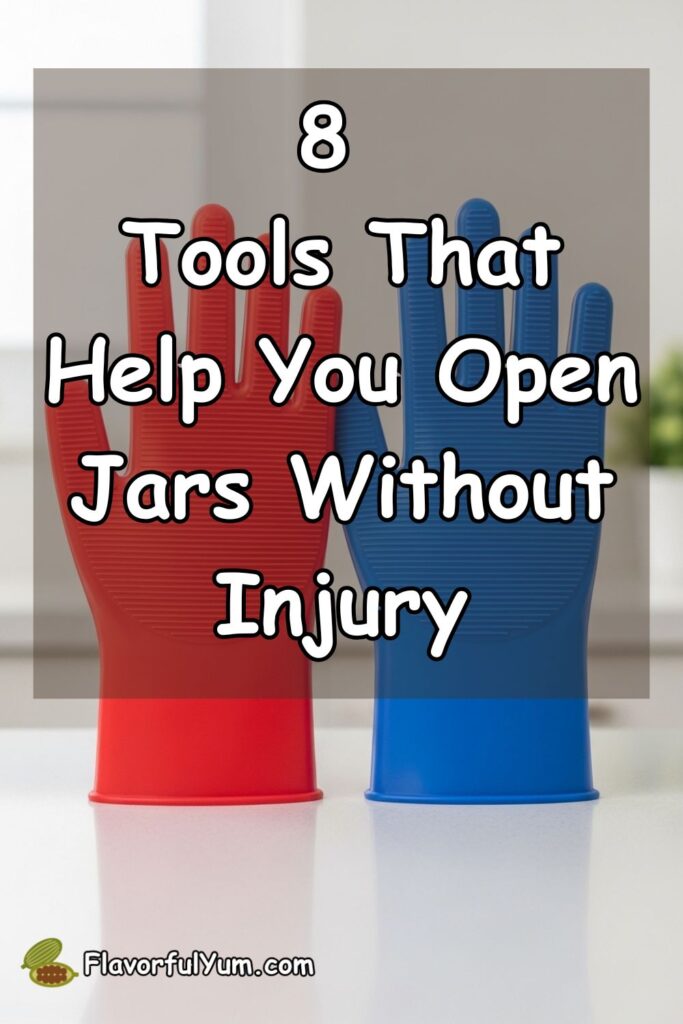
Now Reading: 8 Tools That Help You Open Jars Without Injury
-
01
8 Tools That Help You Open Jars Without Injury

I enjoy cooking at home. I also face one common problem: tight jar lids. A stuck lid can strain your wrist, hurt your palm, or even cause cuts. I learned that forcing a jar open is not safe. The right tool protects your hands and saves time.
In this guide, I explain the best tools that help you open jars without injury. I also share simple tips that I use in my own kitchen.
Why Jar Lids Get Stuck?
Jar lids stick for several reasons:
- Vacuum seal pressure
- Dried food around the rim
- Tight factory sealing
- Weak grip strength
- Wet or oily hands
Manufacturers seal jars tightly to preserve food. That seal creates pressure inside the jar. You must break the seal before the lid turns easily.
Using your bare hands can cause:
- Wrist strain
- Finger pain
- Skin cuts
- Muscle soreness
The right tools reduce pressure on your joints.
Manual Tools That Improve Grip
Manual tools use leverage and friction. They require little effort.
1. Rubber Jar Grippers
Rubber grippers are flat, flexible pads. They increase friction between your hand and the lid.
I keep one in my kitchen drawer. It works for small and medium jars.
How It Works:
- Place the rubber pad over the lid.
- Press firmly.
- Turn slowly.
The rubber prevents slipping. Less slipping means less force.
Why I Like It:
- Low cost
- Easy storage
- Works on many lid sizes
- No batteries required
This tool reduces strain on fingers.
2. Adjustable Jar Openers
An adjustable jar opener has a handle and a gripping head. The head adjusts to different lid sizes.
You tighten the grip around the lid. Then you turn the handle.
Benefits:
- Strong leverage
- Better control
- Less wrist rotation
- Works for large lids
I use this tool for pasta sauce jars and pickle jars. The long handle multiplies force. That means less pressure from my hand.
3. Multi-Function Bottle and Jar Openers
These tools include several openings for different lid sizes.
They often feature:
- Circular grips
- Metal teeth
- Non-slip coating
I find them useful for:
- Water bottles
- Small condiment jars
- Soda caps
The design spreads pressure evenly. This reduces pain in the palm.
4. Under-Cabinet Jar Openers
An under-cabinet opener mounts beneath a kitchen cabinet.
It stays fixed in place. You insert the jar lid into the gripping teeth. Then you twist the jar.
Why It Helps:
- You use arm strength, not wrist strength
- The cabinet provides support
- You apply steady pressure
I like this option because it keeps both hands stable. Stability lowers injury risk.
Installation requires screws. Once installed, it stays ready.
Electric Jar Openers
Electric tools reduce physical effort. They are useful for people with arthritis or weak grip strength.
5. Electric Automatic Jar Openers
An electric jar opener clamps onto the lid. It rotates automatically.
How It Works:
- Place the device on the lid.
- Press the button.
- Wait while it turns and loosens the lid.
The machine does the work.
Best For:
- Seniors
- People with joint pain
- Large sealed jars
I tested one for a stubborn pickle jar. The device opened it in seconds.
These tools require batteries or charging. Keep spare batteries nearby.
Simple Kitchen Tools That Also Work
You may already own tools that help loosen jars safely.
6. Silicone Gloves
Silicone gloves improve grip. They create friction and protect skin.
I use silicone gloves when my hands feel weak.
Benefits:
- Heat resistance
- Slip protection
- Strong grip
- Hand protection
They also help with hot lids after running jars under warm water.
7. Strap Wrenches
A strap wrench uses a flexible strap to grip round objects.
You wrap the strap around the lid. Then you turn the handle.
The strap tightens as you twist. This increases grip without crushing the lid.
This tool works well for large jars and containers.
8. Lid-Popping Tools
Some small metal tools lift the edge of the lid slightly. This action breaks the vacuum seal.
You slide the tip under the lid edge. You gently lift until you hear a pop.
After the seal breaks, the lid turns easily.
I use this method carefully. I avoid sharp edges to prevent cuts.
Safe Techniques That Support These Tools
Tools help, but technique matters too.
Break the Vacuum Seal First
The vacuum seal creates pressure. If you break the seal, the lid loosens.
Ways to break the seal:
- Tap the lid edge lightly with a spoon
- Use a lid-lifting tool
- Press gently around the rim
Do not strike the jar hard. Strong impact can crack glass.
Use Warm Water
Warm water expands metal slightly. Expansion reduces tightness.
Steps:
- Run warm water over the lid for 30 seconds.
- Dry the lid.
- Use a gripper or opener.
I avoid hot water that can damage labels or crack glass.
Dry Your Hands
Wet hands slip easily.
Before opening a jar, I:
- Dry my hands
- Wipe the lid
- Remove oil or grease
Better grip reduces force.
Hold the Jar Securely
Place the jar on a stable surface. Hold it firmly against the counter.
You can also:
- Place a damp towel under the jar
- Sit down for better control
Stability protects your wrist.
Choosing the Right Tool for Your Needs
Not all tools fit every person.
Consider these factors:
Grip Strength
If your grip feels weak, choose an electric opener.
Kitchen Space
If space is limited, use a flat rubber gripper.
Frequency of Use
If you open jars often, install an under-cabinet opener.
Joint Pain
If you have arthritis, choose tools with long handles or automatic rotation.
I tested several tools before deciding which ones worked best for me.
Injury Risks from Forcing Jars Open
Forcing a jar open can cause:
- Wrist sprain
- Tendon strain
- Finger cuts
- Glass breakage
- Muscle soreness
I once strained my wrist by twisting too hard. That experience taught me to use leverage, not force.
Prevention protects long-term hand health.
How I Organize My Jar-Opening Tools?
I keep:
- A rubber gripper in my top drawer
- An adjustable opener near my spice rack
- Silicone gloves in a side cabinet
Easy access means I do not attempt risky methods.
I avoid using knives to pry lids. Knives slip and cause injury.
Tools for Seniors and People with Arthritis
If you have limited hand strength, choose tools that reduce twisting motion.
Best options:
- Electric jar openers
- Under-cabinet openers
- Adjustable long-handle openers
These tools reduce pressure on joints.
Comfort improves independence in the kitchen.
Travel and Portable Options
If you travel or cook outside your home, carry a compact tool.
Good portable options:
- Rubber grippers
- Multi-size plastic openers
- Small strap tools
They fit easily in a bag.
Maintenance Tips for Jar Opening Tools
Tools work best when clean.
I:
- Wash rubber grips regularly
- Wipe metal tools dry
- Check for loose screws
- Replace worn rubber
Clean tools prevent slipping.
When to Replace a Tool?
Replace a jar opener if:
- Rubber becomes smooth
- Metal bends
- Handle cracks
- Grip weakens
Old tools increase risk.
My Simple Jar-Opening Routine
Here is what I do when I face a tight jar:
- Dry the lid.
- Run warm water over the lid if needed.
- Use a rubber gripper first.
- Switch to an adjustable opener if needed.
- Break the seal gently if required.
This system works almost every time.
Common Mistakes to Avoid
I avoid these risky habits:
- Hitting jars hard on the counter
- Using knives under the lid
- Twisting with wet hands
- Asking someone to force it open
- Ignoring wrist pain
Pain signals strain. Strain leads to injury.
Final Thoughts
Opening jars should not cause pain. The right tools reduce effort and protect your hands.
Effective options include:
- Rubber jar grippers
- Adjustable jar openers
- Under-cabinet openers
- Electric automatic openers
- Silicone gloves
- Strap wrenches
Each tool increases leverage or friction. Less force means lower injury risk.
I learned that small tools make a big difference. I no longer struggle with tight lids. I use simple equipment and safe technique.
If you open jars often, invest in one reliable tool. Your hands will thank you. Safe cooking starts with safe preparation.

It’s Eliana Hazel. I’m a 33-year-old wife and mom of two from Tennessee who loves cooking fresh, simple meals for my family. I shop for veggies at Walmart, try new recipes, and add my own twist to make them special. When I’m not in the kitchen, I enjoy yoga, meditation, and catching up with my friends over green smoothies. Here, I share family-tested recipes, easy cooking tips, and a little inspiration to make your kitchen a happy place.
Related Posts

Previous Post
Next Post


Hey, y’all! I’m Hazel!
I’m SO happy you’re here! I’m passionate about cooking fresh, homemade meals for my family and love sharing recipes that are simple, healthy, and full of flavor. Here on my blog, I believe in making food with love, experimenting with ingredients, and turning everyday meals into something special. In short, I believe that cooking at home brings families closer and makes life more joyful. >>> Learn more